前文
本文适合对openGauss源代码有好奇心的爱好者,那么一个友好的openGauss源代码环境应该是怎么样的。openGauss的开发环境是如何设置的?openGauss的编译环境是如何构建的?如何向openGauss提交代码,笔者集合官方和几位博主实践提供友好的openGauss源代码阅读环境。在这个环境,你可以阅读、可以开发、可以调试、可以运行。你可以马上把它提交gitee,也可以选择向openGauss合并。
需要windows主机,linux服务器,gitee帐号各一个,你需要准备以下:
centos7.6作为linux服务器,即调试编译环境,
Visual Studio code 1.80安装在windows主机上,即开发阅读环境
确认已注册gitee帐号,已经拥有gitee用户名和gitee密码
用自己帐号gitee把源码openGauss相关的都fork到自己的仓库下面
centos7.6服务器上运行clone,把自己的远端代码全部弄下来。centos7.6服务器安装调试工具,验证调试代码可编译可运行【此刻已经有openGauss安装包生成】
windows主机安装vscode,安装 Remote -SSH 和Remote - Development插件。安装后可以友好阅读并修改远端centos7.6的gauss内核代码,修改后保持同步。
centos7.6服务器设置git环境,保持与自己的gitee仓库同步,等待自己的gitee仓库与opengauss审核 并合入。
第一步,克隆官方openGauss环境
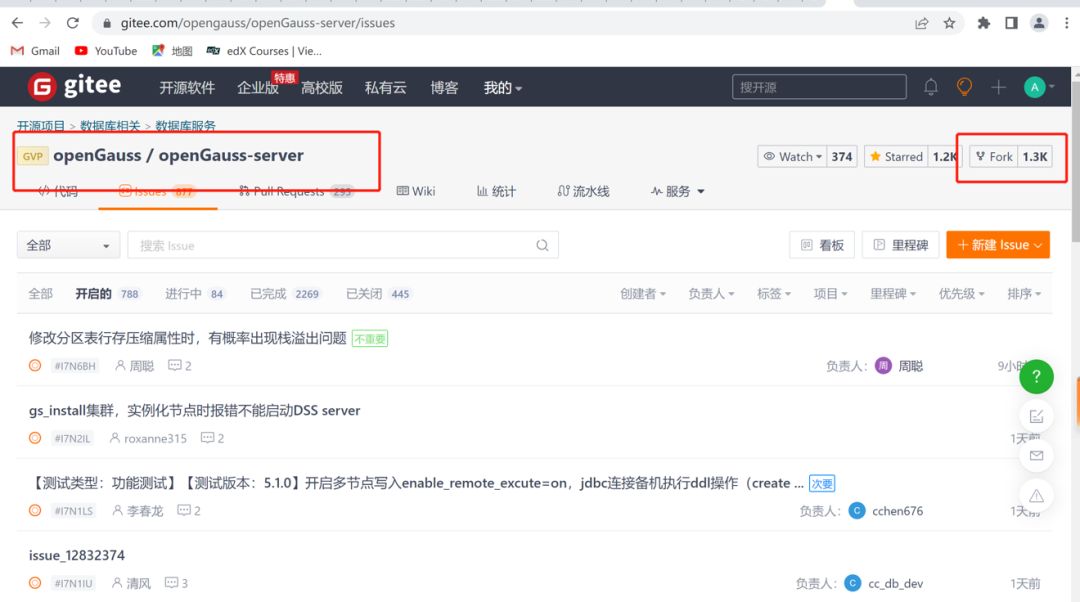
登陆gitee,把官方openGauss的代码fork过来, https://gitee.com/opengauss/openGauss-server
点击fork
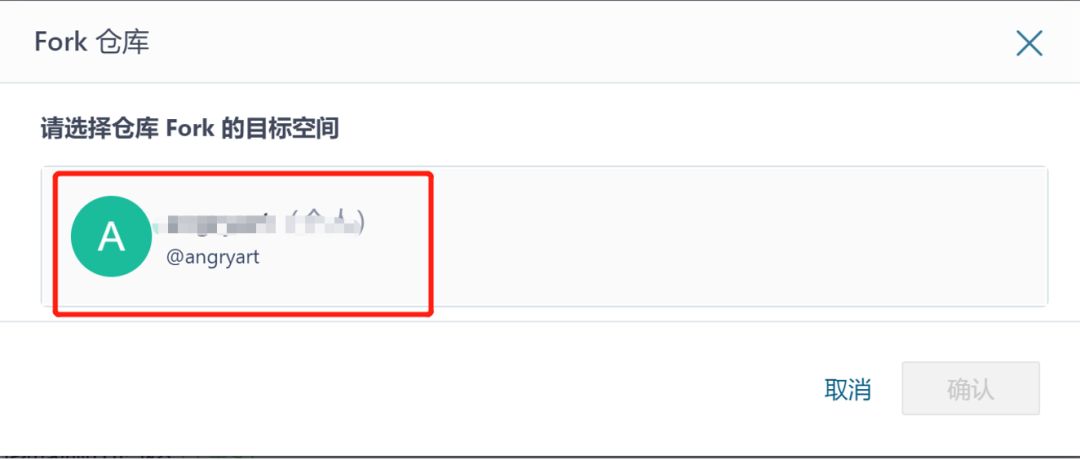
弹出窗口
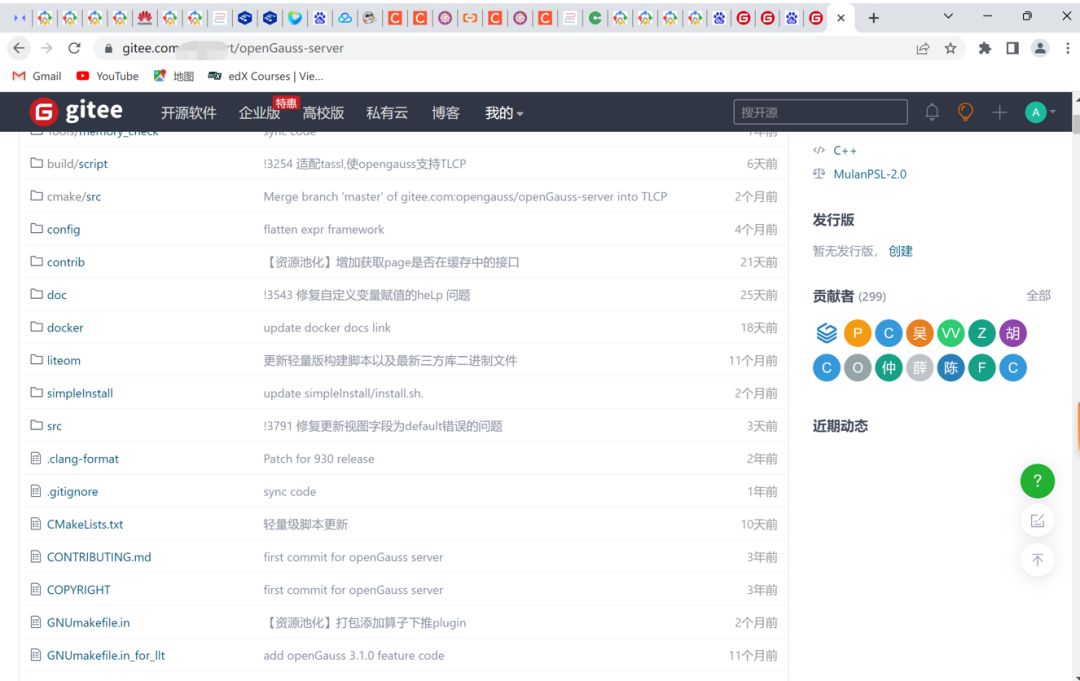
这时可以看到自己的仓库,https://gitee.com/xxxxx/openGauss-server
第二步,centos7.6打造编译开发环境
此处需要openGauss-server、openGauss-OM和openGauss-5.0.0-CentOS-64bit-all.tar.gz
mkdir /tmp/omm500cd /tmp/omm500git clone https://gitee.com/opengauss/openGauss-OM.git
git clone https://gitee.com/angryart/openGauss-server
wget https://opengauss.obs.cn-south-1.myhuaweicloud.com/5.0.0/binarylibs/openGauss-third_party_binarylibs_Centos7.6_x86_64.tar.gz
tar -xvf openGauss-third_party_binarylibs_Centos7.6_x86_64.tar.gz
注入环境变量
yum remove libaio-devel libaio -y
yum install -y git gmp gmp-devel mpfr mpfr-devel libmpc libmpc-devel libaio libaio-devel flex bison ncurese-devel glibc-devel patch rehat-lsb-core readline-devel perl gcc gcc-c++
# 配置环境变量
echo "export CODE_BASE=/tmp/omm500/openGauss-server # Path of the openGauss-server file " >> ~/.bashrc
echo "export BINARYLIBS=/tmp/omm500/openGauss-third_party_binarylibs_Centos7.6_x86_64 # Path of the binarylibs file " >> ~/.bashrc
echo "export GAUSSHOME=\$CODE_BASE/dest/ " >> ~/.bashrc
echo "export GCC_PATH=\$BINARYLIBS/buildtools/gcc7.3/ " >> ~/.bashrc
echo "export CC=\$GCC_PATH/gcc/bin/gcc " >> ~/.bashrc
echo "export CXX=\$GCC_PATH/gcc/bin/g++ " >> ~/.bashrc
echo "export LD_LIBRARY_PATH=\$GAUSSHOME/lib:\$GCC_PATH/gcc/lib64:\$GCC_PATH/isl/lib:\$GCC_PATH/mpc/lib/:\$GCC_PATH/mpfr/lib/:\$GCC_PATH/gmp/lib/:\$LD_LIBRARY_PATH " >> ~/.bashrc
echo "export PATH=\$GAUSSHOME/bin:\$GCC_PATH/gcc/bin:\$PATH " >> ~/.bashrc
echo "export PGDATA=/opt/omm500/data" >> ~/.bashrc
echo "export PGPORT=5432" >> ~/.bashrc
echo "export PGDATABASE=postgres" >> ~/.bashrc
# 加载环境变量
source ~/.bashrc
# 进入源码目录
cd $CODE_BASE
# 编译server (这里就是openGauss提供的一键式编译脚本)
sh build.sh -m release -3rd $BINARYLIBS -pkg
如果成功编译好,如下界面
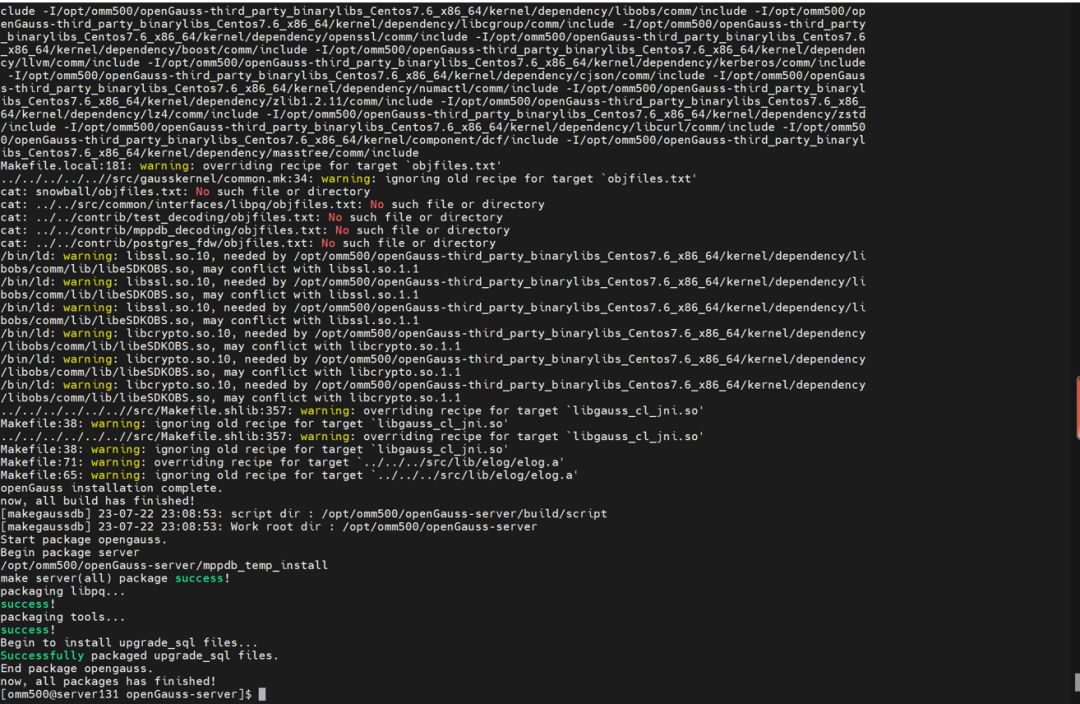
这个是opengauss安装的工具
./build.sh -3rd $BINARYLIBS_PATH
成功后,会有两个文件输出

第三步,windows vs code安装扩展插件连上仓库
windows下面已经安装好vs code,网上找,直接下一步下一步进行安装,准备安装
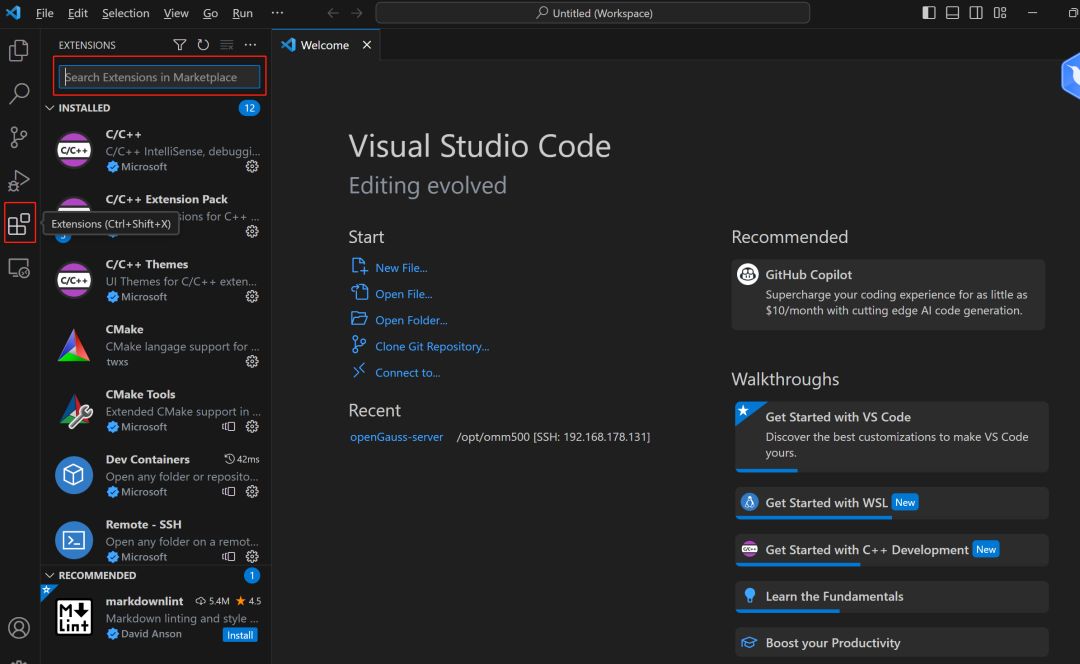
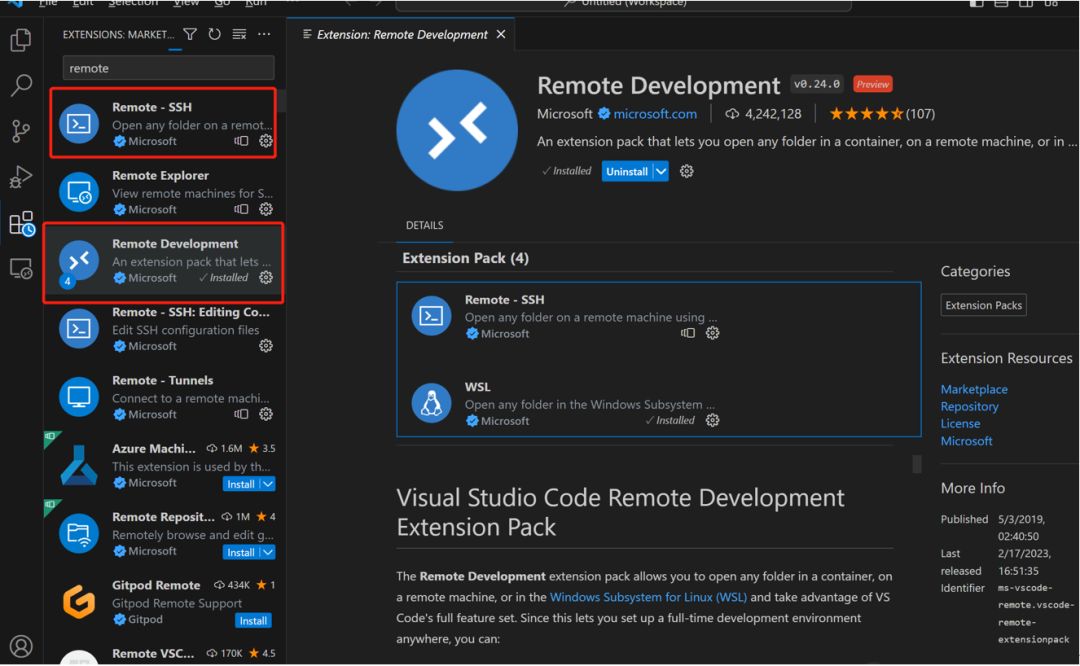
选择Remote-SSH 和 Remote Development
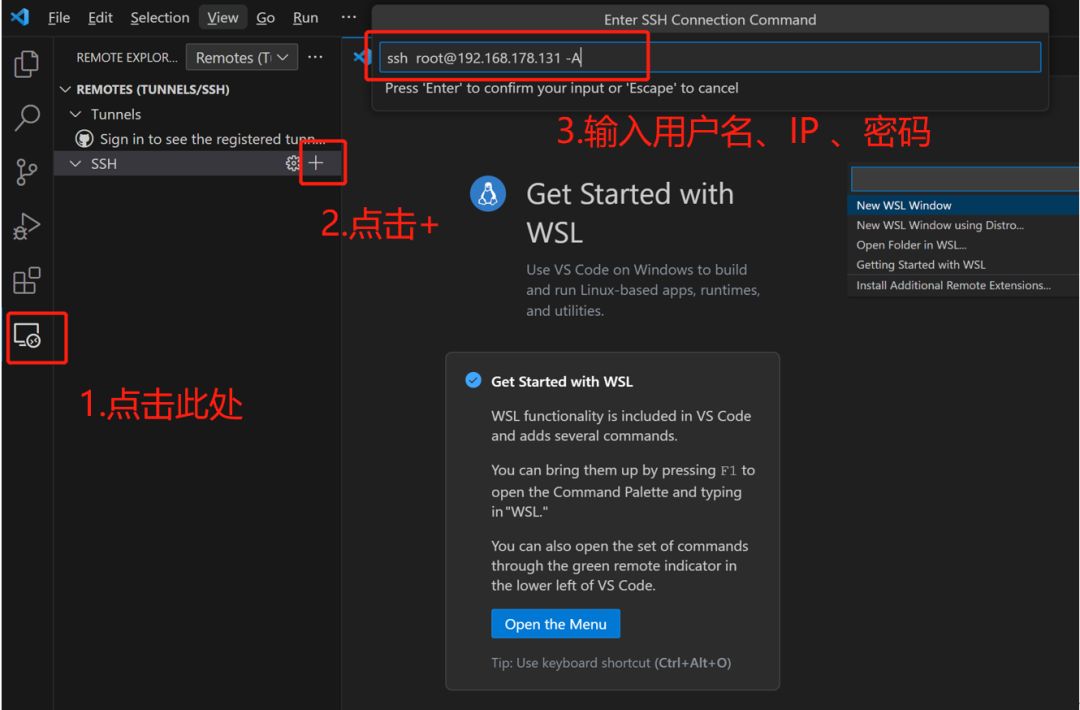
依下图123,对目标服务器进行连接
点击框中搜索相关openGauss的目录
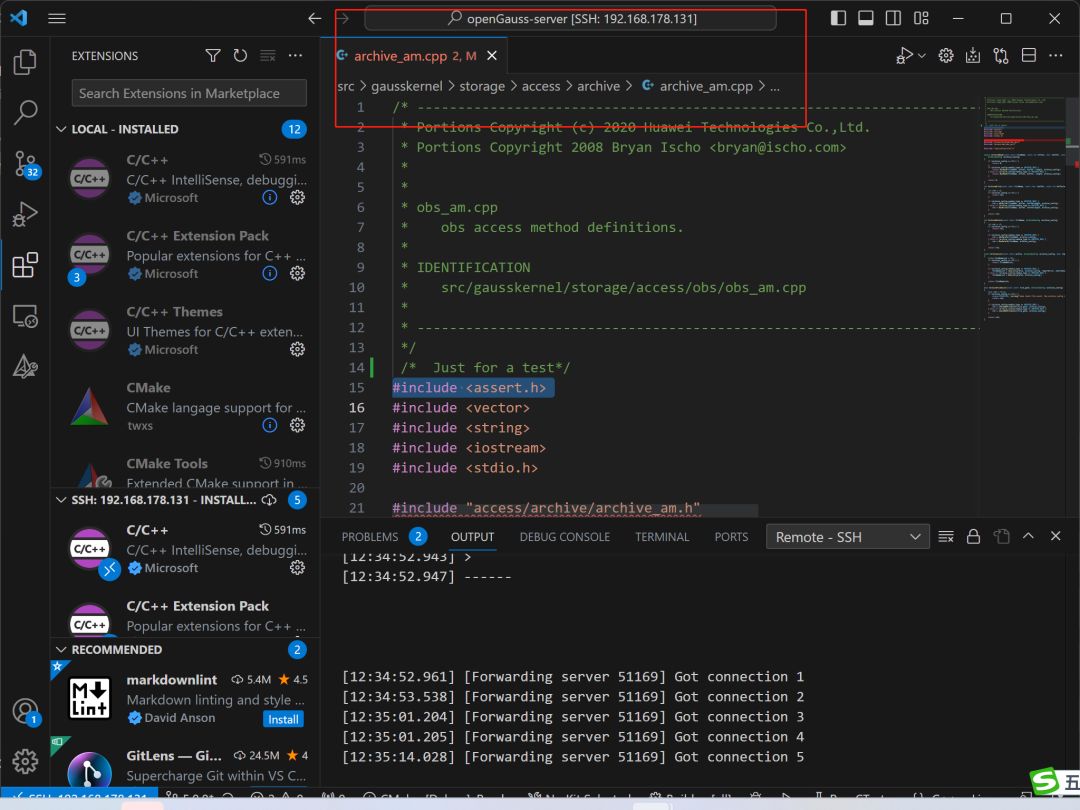
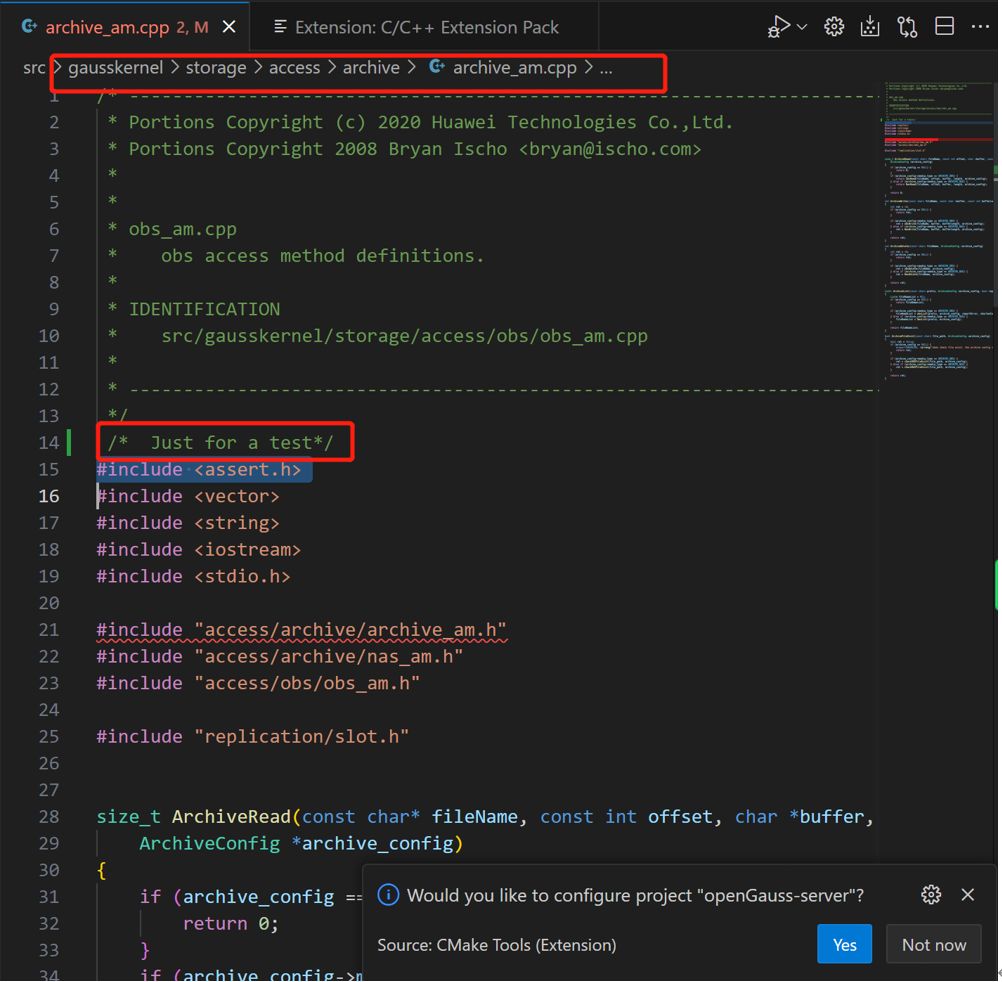
修改源码,openGauss的内核代码是gausskernel下面, src\gausskernel\storage\access\archive\archive_am.cpp,增多一段 “Just for a test”
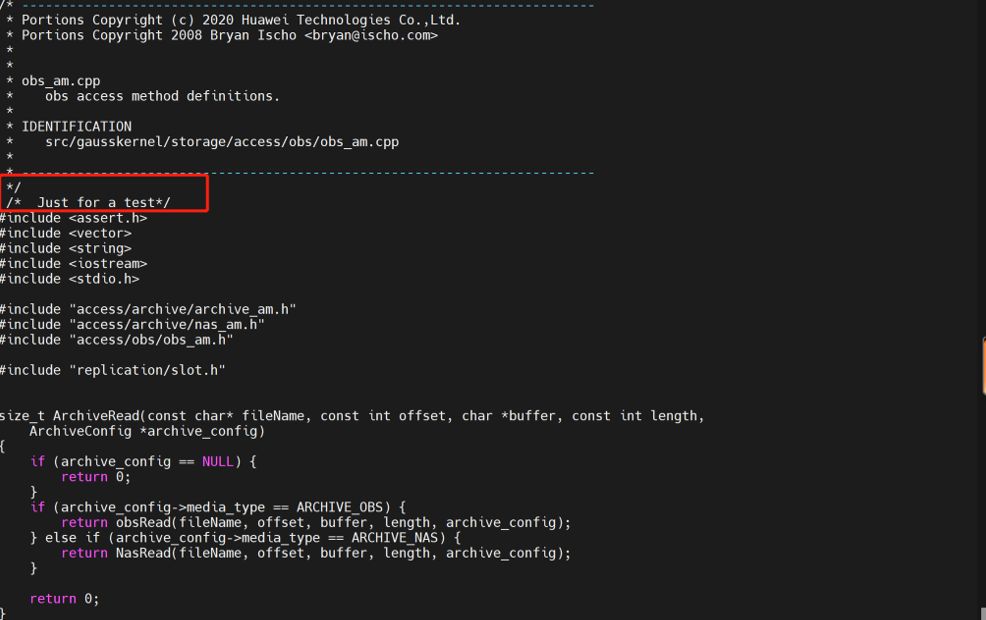
centos7.6下面查看 src\gausskernel\storage\access\archive\archive_am.cpp ,发现文件的确已经发生变化
第四步,centos7.6服务器设置git环境
[ root@server131 omm500] # git config --global user.name "xxxx" gitee帐号名称[ root@server131 omm500] # git config --global user.email "xxx@139.com" gitee邮箱
[ root@server131 omm500] # ssh-keygen -t rsa -C "xxx@139.com" gitee帐号密码
Generating public/ private rsa key pair.
Enter file in which to save the key (/root/.ssh/id_rsa):
Created directory '/root/.ssh'.
Enter passphrase (empty for no passphrase):
Enter same passphrase again:
Your identification has been saved in /root/.ssh/id_rsa.
Your public key has been saved in /root/.ssh/id_rsa.pub.
The key fingerprint is:
SHA256:RDYDta9IiPzK5eZCXu8bU0kOgQuhim9SwvSuZJmsCEI 15920142730@139.com
The key's randomart image is:
+---[RSA 2048]----+
| .. .oo* |
| .. . + + |
|.. . .. + |
|=..... = o |
|+E+.. . S . |
|o+=... o . |
|+Oooo.+ . |
|B+++. .o |
|o.o+o.o. |
+----[SHA256]-----+
[root@server131 openGauss-server]# git clone https://gitee.com/angryart/openGauss-server
[ root@server131 openGauss-server] #
git remote add upstream https: //gitee.com/opengauss/openGauss-server
[ root@server131 openGauss-server] # git remote set-url --push upstream no_push
提交代码
[ root@server131 openGauss-server] # git add .
[ root@server131 openGauss-server] # git commit -m "message"
[ root@server131 openGauss-server] # git push origin master
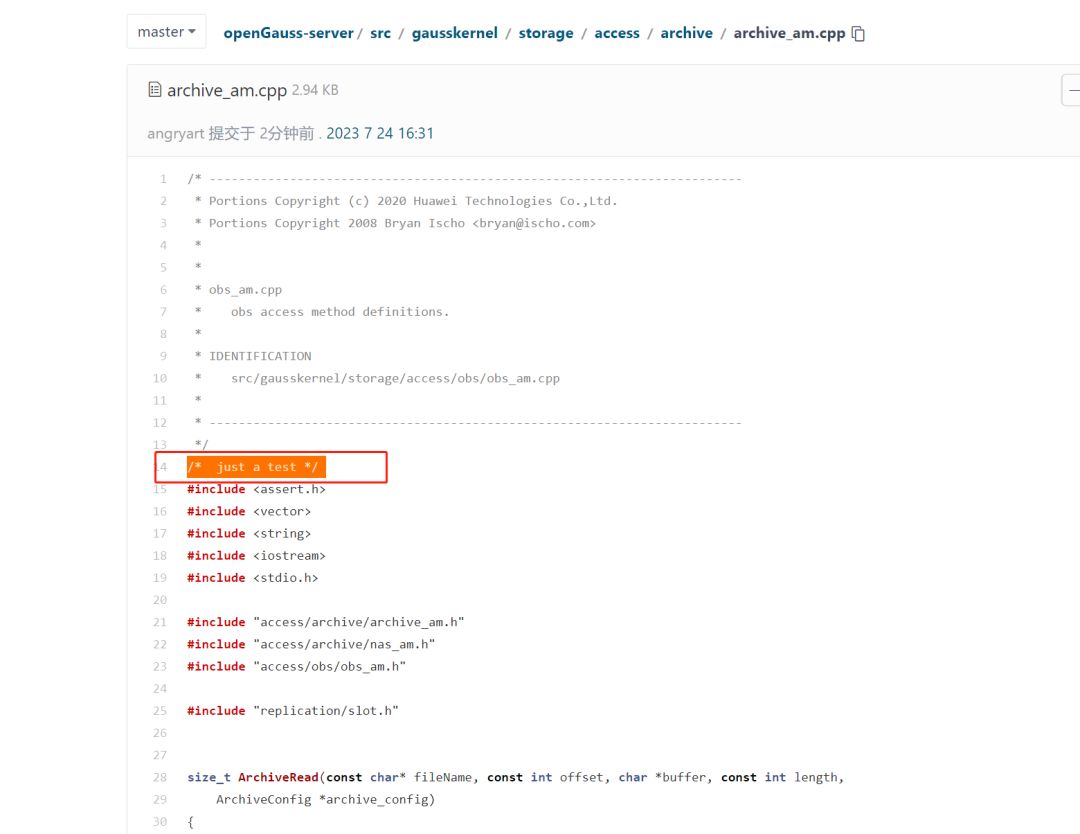
最后检验自己的仓库,已经提交成功
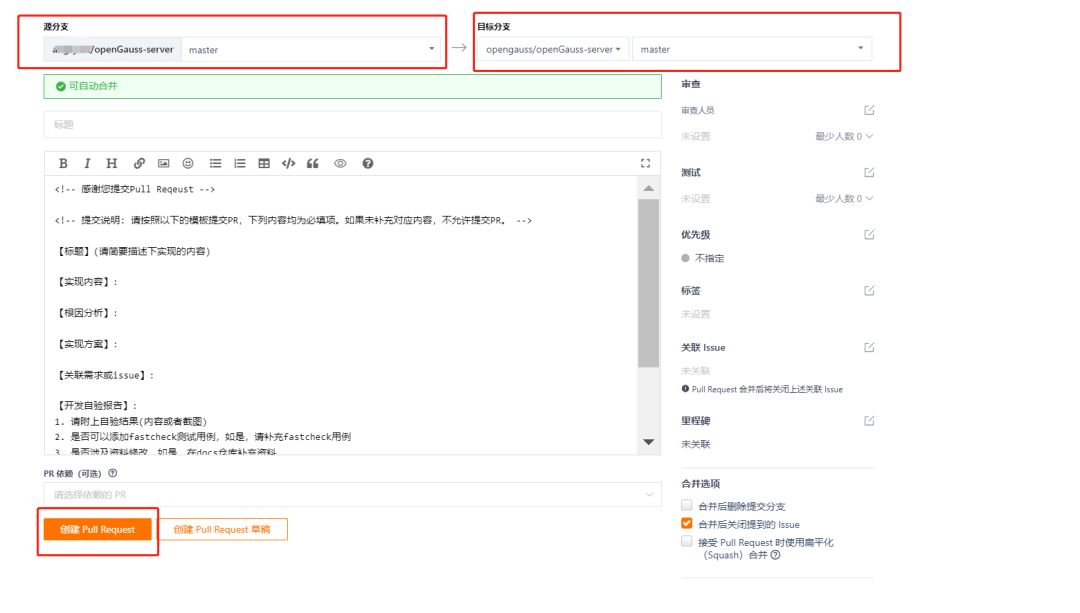
下面是自己的远端仓库与openGauss同步,需要提交pull request
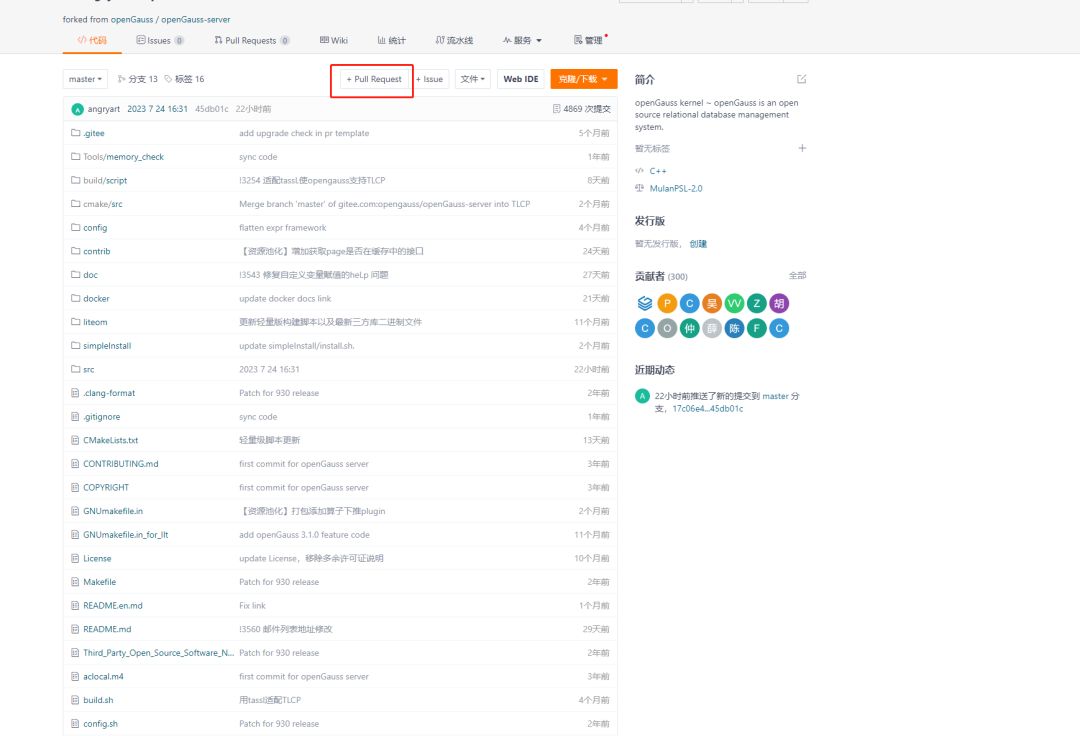
这里要写清楚改了什么,源分支是你修改的源代码, 目标分支是 openGauss侧的的,如果官方同意,就会把你的代码合并到里面去。